Saturday, April 26, 2014

easy pizza scrolls

 
These little pizza scrolls are so easy to whip up
(if I can do it anyone can)
and they're great for afternoon tea or popping
into lunchboxes.
They also freeze well if you make a double batch.
 
You will need ~
2 cups s/r flour with a pinch of salt
90g butter , 2/3 cup milk
pizza sauce, pineapple, ham, grated cheese
 
Sift the flour and salt and then use your fingers
to rub the butter in until it looks like fine breadcrumbs.
Add the milk and use a round bladed knife to mix
until it starts holding together.
 
Tip the dough onto a lightly floured surface and knead
gently until it's all smooth.
Use a rolling pin and roll out the dough to about 30cm x 40cm.
 
Spread the pizza sauce over the entire base, top with
grated cheese and then all of your favourite toppings.
 
Starting from the long side roll up firmly to make a log.
 
Cut through the log ~
1cm makes crispy pieces
3cm makes more doughy pieces.
 
Put them all on a baking tray that is covered
with non-stick baking paper.
 
Sprinkle some cheese over the top
and bake them at 210c for about 25 minutes
or until they are golden brown.
 
I make these fairly often and my dogs have
never tasted them so they must be alright.
 
Enjoy!
 
P.S. You could just use the dough
 and try vegemite or nutella scrolls.


Tuesday, April 22, 2014

let me try again

 
I'm going to have another go at finishing something
Last year I didn't get finished in time.
The whole sorry saga is here.
 
Everything needs to be written in my diary , everything.
 
I am so scattered I never know what my kids
are up to unless I check the diary.
Unfortunately the diary can be lost for days under paint charts
or crochet or just mingled with all the junk at my place.
 
 
I also get a bit distracted and madly
start things like this old cupboard.
 
 
but I think it turned out ok .


Now I'm off to work on my scarf and think
about the competition.
 
I wonder really where my kids are............


Sunday, April 13, 2014

just because

 
Well here I am again.

 
Making silly things just because.

 
Maybe I really am going bananas.

Sunday, April 6, 2014

lying about

 
I'm still taking it easy getting over this flu.
At least I have the kitten with the biggest paws
in the whole world to keep me company.
 

Thursday, March 27, 2014

a couple of days later

 
Well yes it is a bit more than a couple of days later
since I said I would come back and let you
you know who was the winner of the
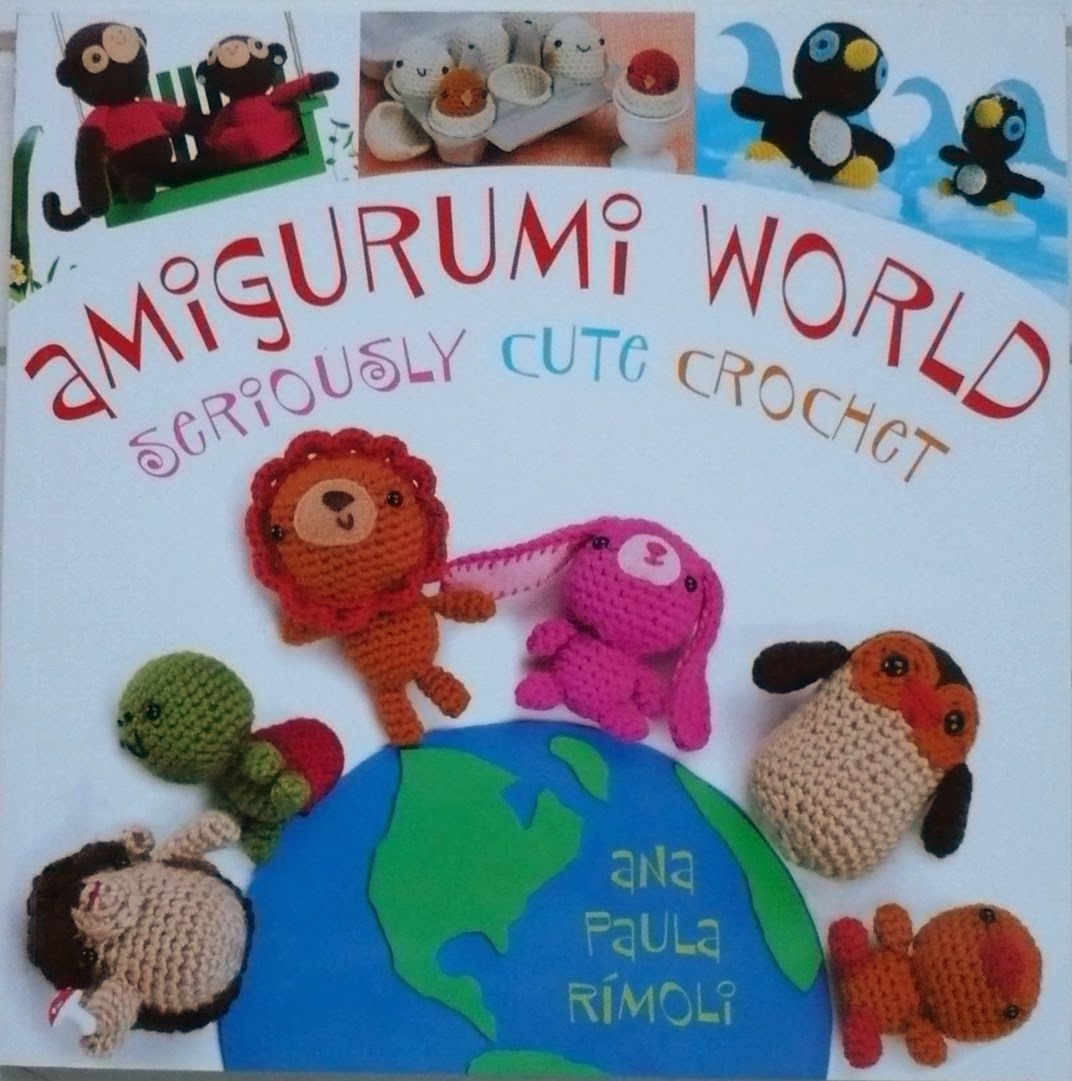
Amigurumi World Seriously Cute Crochet Book but....

 
I've had the most dreadful flu.
 
I haven't sewn or crocheted.
 
I haven't glued or painted.

 
But I put some little bells in plastic eggs and strung
them up from a pretty food cover

 
and then I went back to bed.
 
The winner of the book is ....
Melody!
Please email me Melody with your address.
Thanks everyone else for entering I do appreciate it.
 
Now I'm going back to bed.

Wednesday, March 19, 2014

601 posts amigurumi book giveaway

 
Do you crochet?
I do but I can't follow a pattern no matter how much I try.

 
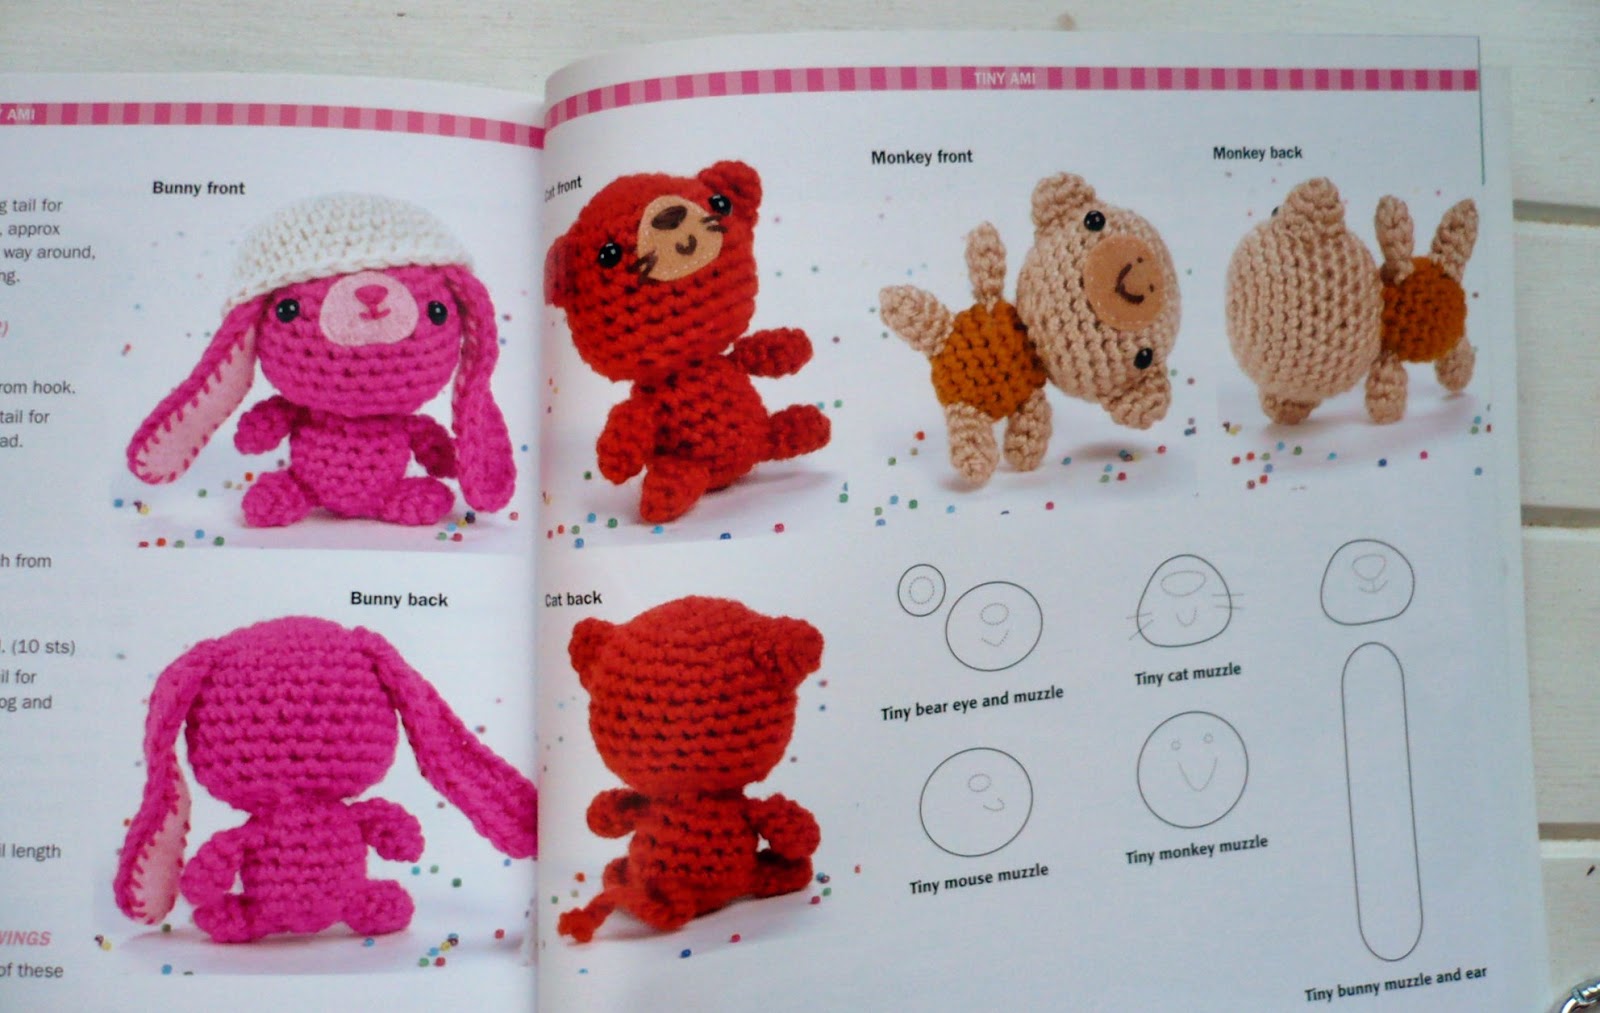
This cute book full of seriously cute creatures
would be just the thing to up my game.

 
If you are a Australian follower of this blog and would like to win
this book just leave a comment here, so easy!
 
I'll draw the winner in a couple of days , good luck!
 
This giveaway is now closed but thanks for your interest.

Friday, March 14, 2014

pineapple tutorial

 
So you'd like to make a pineapple?
 
 You will need about 1/2 a metre of pineapple
coloured fabric to make yourself 74 x 3" prairie points.
 
For the prairie points you cut a neat 3" square and
fold point to point and press. 
 Fold again to form the triangle and press again.
 
There are plenty of tutorials for making
large quantities of prairie points around just ask Mr Google.

 
You will also need a base that measures 15cm high x 35cm long.
 
 
Start by sewing a row of points along the bottom
with the points aligning with the edge.
Tuck each point into the one on the left.

 
Continue doing rows and rows with your stitching
close to the top so that it is easily covered by the next row.
Position your points so the ones above are evenly
spaced between the ones below.
Don't worry about overlapping the edges as these will
be trimmed off later.
Keep adding rows until you reach about 5cm from the top.

 
You need to use some green scrap fabric for the leaves.
Draw and cut out some templates from cardboard
as shown above.


Trace your greenery onto doubled green fabric.
You can do the whole lot and stitch around all of them
before cutting around them and turning them
right side out.
You will need 8 small leaves and 5 large ones.

 
Turn under the top edge 2cm and pin the small leaves
along the front and space the larger leaves behind.
Stitch right along securing the leaves.

 
With right sides facing join edges and sew
about 1cm in to make the back seam.
Now you'll need to trim all the excess bits of points
to neaten it all up a bit.

 
Cut a 12cm diameter circle from your main fabric.
Pin it to the bottom edge of your pineapple taking
care you don't catch any points.
Usually after I pin the base I tack around it by hand
before machine sewing as I found it easier to pull the
pins out.

 
Now it should look like this!
 
Start stuffing.
 
When you have done all your stuffing just secure the top
by tacking around beneath the leaves and pulling tight to gather.
Keep stitching through all your top layers so everything
stays together because anytime anyone sees your
pineapple they have to play with it.
 
Flip the bottom, small leaves down so they cover the top row
of prairie points stitching.
You can add a few tiny stitches to keep them down if you like.


 What do you think ?
Will you be making a pineapple?
 
 
Thanks for visiting, it's nice to have you here.